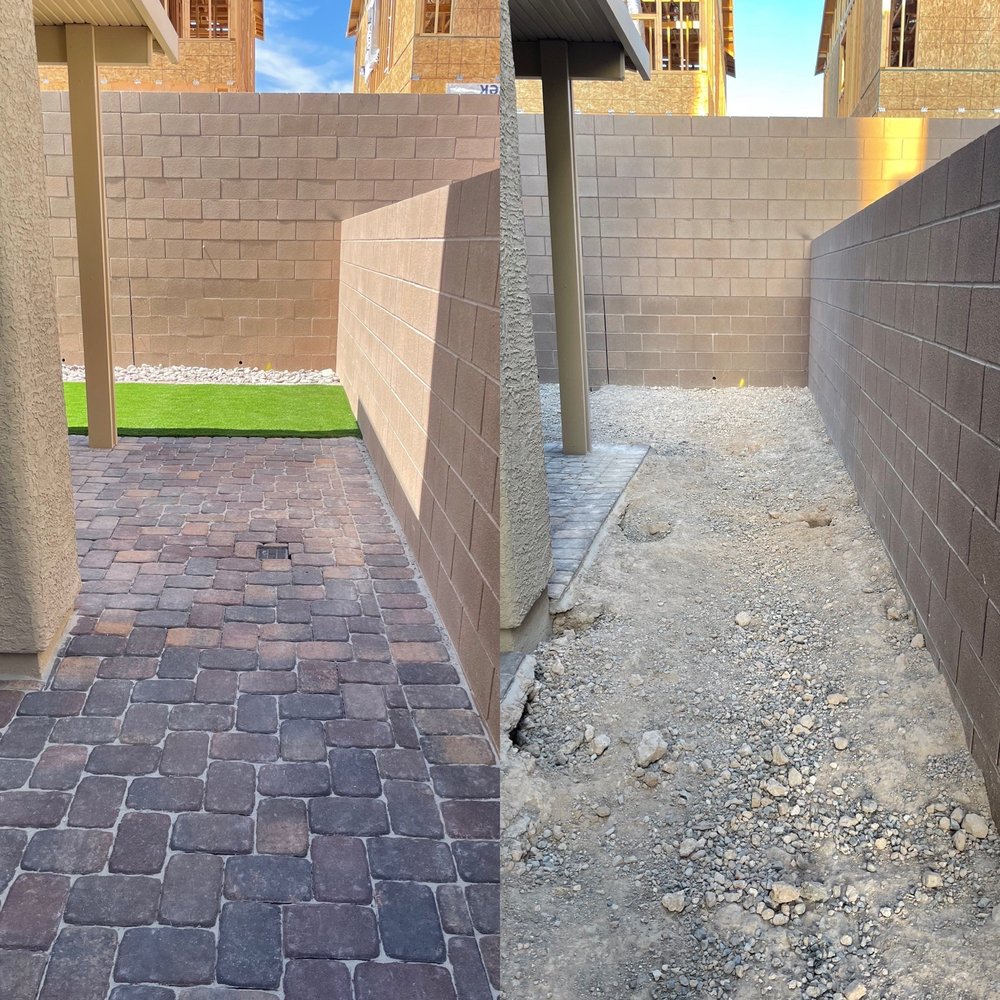
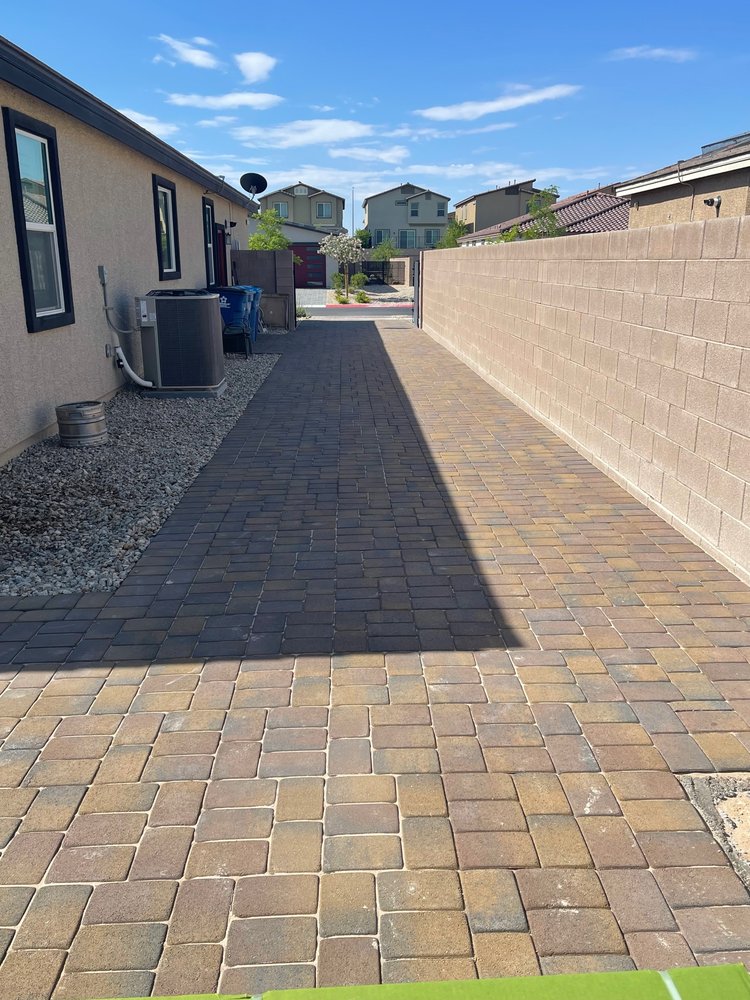
How to Prepare Your Outdoor Space for Patio Pavers Installation
Transforming your outdoor space with a patio can significantly enhance the aesthetics and functionality of your home. One crucial aspect of creating a stunning patio is the installation of patio pavers. However, before you dive into the installation process, proper preparation of your outdoor space is essential. In this comprehensive guide, we’ll walk you through the steps to prepare your outdoor area for patio pavers installation, ensuring a smooth and successful project. Let’s delve into the intricacies of prepping your outdoor space for the installation of patio pavers.
Understanding Patio Pavers
Patio pavers are versatile, durable, and aesthetically pleasing materials used for outdoor flooring. They come in various shapes, sizes, colors, and materials such as concrete, brick, natural stone, and porcelain. Choosing the right type of paver depends on your budget, design preferences, and the climate of your region. Regardless of the material, proper preparation of the installation site is crucial to ensure the longevity and stability of your patio.
Assessing Your Outdoor Space
Before you embark on the patio pavers installation journey, thoroughly assess your outdoor space. Consider factors such as the layout, existing landscape features, drainage, and soil conditions. Take accurate measurements of the area where you plan to install the patio pavers. This step will help you determine the quantity of materials required and avoid unnecessary wastage.
Clearing the Area
Once you’ve assessed your outdoor space, the next step is to clear the area of any existing structures, vegetation, debris, and obstacles. Remove plants, bushes, and trees within the designated patio area. Use appropriate tools such as shovels, rakes, and wheelbarrows to excavate and clear the site effectively. Ensure that the area is free from roots, rocks, and other obstructions that may hinder the installation process.
Marking the Layout
After clearing the site, mark the layout of your patio using stakes, strings, or spray paint. Outline the shape and dimensions of the patio according to your design plan. Pay attention to symmetry, alignment, and any desired curves or patterns. This step will serve as a visual guide during the excavation and installation process, ensuring precision and accuracy.
Excavating the Area
Excavation is a crucial step in preparing the outdoor space for patio pavers installation. Use a shovel or mechanical excavator to dig out the designated area to the required depth, typically around 6 to 8 inches for most patio projects. Excavate deeper if you’re planning to add a base material such as gravel or sand. Ensure that the excavation is uniform and slopes away from structures to facilitate proper drainage.
Preparing the Base
Once the excavation is complete, it’s time to prepare the base for the patio pavers. The base serves as a stable foundation that supports the pavers and helps distribute weight evenly. Depending on your soil conditions and local climate, you may need to add a base material such as crushed stone, gravel, or sand.
For optimal stability and drainage, consider using a combination of base materials. Start by adding a layer of coarse gravel or crushed stone to the excavated area. Compact the gravel using a plate compactor or hand tamper to create a firm and level surface. Next, add a layer of finer gravel or sand and compact it thoroughly. Ensure that the base is level and slopes away from structures to prevent water accumulation.
Installing Edge Restraints
Edge restraints are essential for securing the patio pavers in place and preventing them from shifting or spreading over time. Common edge restraint materials include plastic, metal, or concrete. Install the edge restraints along the perimeter of the patio, ensuring that they are level and securely anchored into the ground. This step will help maintain the integrity of your patio design and prevent the pavers from shifting under foot traffic or weather conditions.
Adding Bedding Sand
Before laying the patio pavers, it’s essential to add a layer of bedding sand to provide a smooth and level surface. Spread a uniform layer of coarse sand over the compacted base using a screed board or rake. The thickness of the bedding sand layer should be approximately 1 inch. Use a straight edge or level to ensure that the sand is evenly distributed and at the correct depth.
Laying the Patio Pavers
With the preparation work complete, it’s time to start laying the patio pavers. Begin from one corner of the patio and work your way outward in a pattern or design of your choice. Place each paver carefully, ensuring proper spacing and alignment. Use a rubber mallet to gently tap the pavers into place and ensure they are level with each other and the surrounding surface. Periodically check the alignment and levelness of the pavers as you progress.
Cutting Pavers
Inevitably, you’ll encounter areas where full-size pavers won’t fit. In such cases, you’ll need to cut the pavers to size using a saw equipped with a diamond blade. Measure the space carefully and mark the cutting lines on the pavers. Exercise caution and wear appropriate safety gear when cutting the pavers to avoid accidents and ensure precision.
Filling the Joints
Once all the patio pavers are in place, fill the joints between them with fine sand or polymeric sand. Use a broom or brush to sweep the sand into the joints, ensuring complete coverage. Compact the sand into the joints using a plate compactor or tamper to lock the pavers in place and prevent weed growth. Add more sand as needed until the joints are fully filled and level with the surface of the pavers.
Final Touches and Sealant Application
After completing the patio pavers installation, take some time to inspect the entire area for any imperfections or unevenness. Make any necessary adjustments and ensure that the patio surface is smooth and level. Finally, consider applying a sealant to protect the pavers from stains, moisture, and UV damage. Choose a high-quality sealant suitable for your paver material and follow the manufacturer’s instructions for application.
Conclusion
Preparing your outdoor space for patio pavers installation requires careful planning, attention to detail, and proper execution. By following the steps outlined in this guide, you can ensure a successful and long-lasting patio project that enhances the beauty and functionality of your outdoor living space. Whether you’re a seasoned DIY enthusiast or enlisting professional help, mastering the art of preparing your outdoor space for patio pavers installation is key to achieving stunning results that you’ll enjoy for years to come.
Contact Us Today!
Ready to transform your outdoor space with stunning patio pavers? Don’t wait any longer! Take the first step towards creating your dream patio by preparing your outdoor space for installation. With careful planning and attention to detail, you can achieve remarkable results that enhance the beauty and functionality of your home. Contact Battle Born Turf & Pavers today to learn more about patio pavers installation and start your project!


